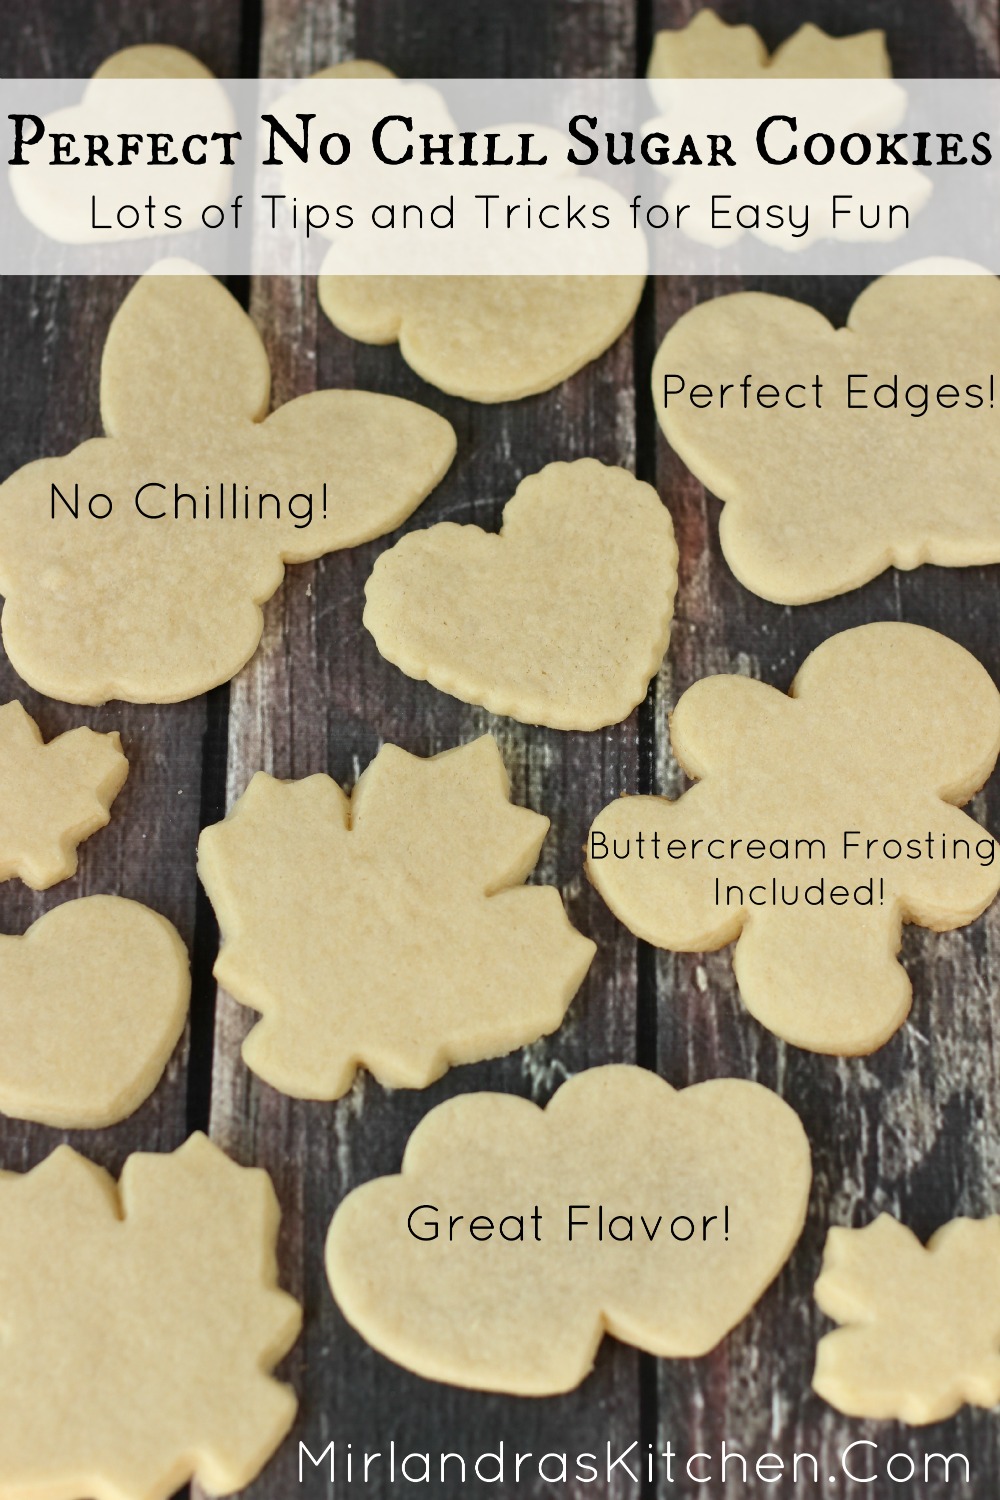
This is the holy grail of roll out sugar cookies! I baked hundreds of cookies to arrive at this recipe! There is no chilling required. The cookies actually taste amazing. The process is easy and kid friendly. The frosting is rich and creamy but still something you can pipe on. I have included all my best tips and a list of the baking equipment I have found works best!
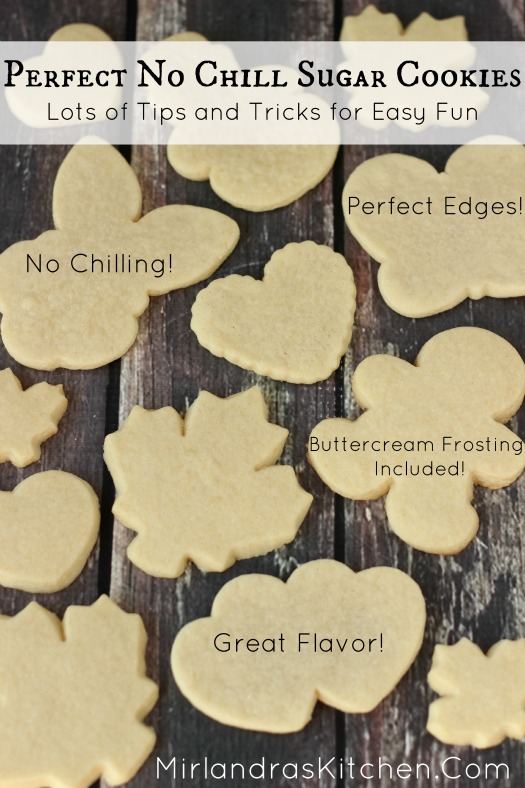 What if you had a recipe for roll out sugar cookies you actually loved? It should be yummy but not too sweet because you plan to frost those puppies. It should be easy because you want to have fun and not spend the day trying to time the chilling of dough. Finally, it should look beautiful when you are done.
This is that recipe. I’m dedicating it with much love to Rachel, my brother’s wonderful wife who made me fall in love with sugar cookies. I wish you many, many happy years of making cookies and somebody as wonderful as Rachel to make them with.
Make sure you check out my suggested equipment below for some good tips and check out the notes at the bottom of the recipe printable for my best tricks. I also included a printable recipe for decadent buttercream frosting that just might change your life…
My Favorite Cookie Making Equipment:
This rolling pin takes the guess work out of getting all your cookies the same thickness. It is well constructed and costs less than $20. It is my favorite new kitchen item this fall.
Using a quality cookie cutter will make a difference both in how easy it is to cut out cookies and how good they look afterwords. I personally dislike the plastic Wilton cutters because they have blunt cutting edges. Look for cutters with an easy grip system such as handles and a sharp cutting edge either plastic or metal. I tried some by plastic cutters like this by Sweet Creations and was impressed.
I love this Side Swipe for many baking projects. It does a great job of mixing dough together. I just toss it in the dishwasher afterwords so clean up is easy. Unfortunately it has become more expensive recently.
Parchment Paper is a baker’s best friend! I use it to roll out he cookies and line my baking sheets. In my experience all brands are created equal. This is the one I use, bought at Costco in a two pack (I use a LOT of it).
Every kitchen that bakes needs two – four quality cookie sheets. A good baking tool helps create better results where a cheep baking sheet will give you problems. I love these sturdy ones from Calphalon. They are non stick and dishwasher safe.
I like these Calphalon cookie racks. Again, they are very sturdy and hold up well year after year. Most households need two. Serious bakers might like to have four.
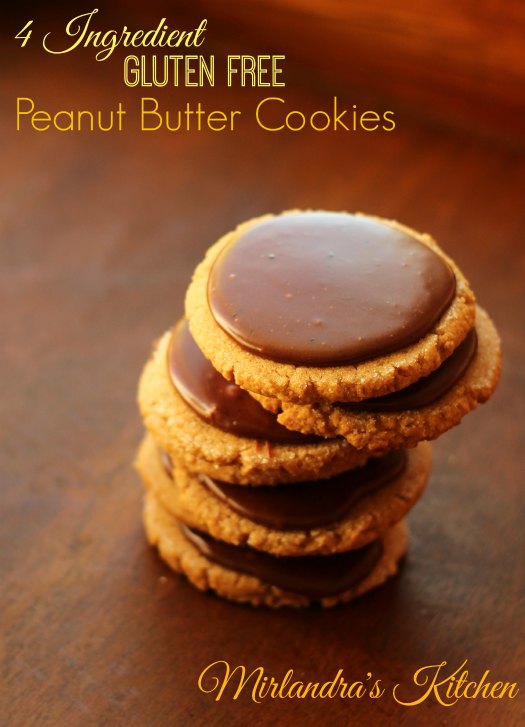
Do you love baking cookies? These are GF and don’t taste it. They are also probably the easiest cookies you will EVER make!
- 1 cup unsalted butter, softened
- 1 cup granulated white sugar
- 1 large egg
- 1 tsp. genuine vanilla extract (never imitation)
- ½ tsp. almond extract (never imitation)
- 2 tsp. baking powder
- ½ tsp. salt
- 3 cups all-purpose flour
- Preheat the oven to 350 F.
- In the bowl of a stand mixer use the paddle attachment to beat the butter and sugar together at medium-high speed for 1 minute.
- On medium speed, beat in the egg, vanilla, almond extract, baking powder and salt.
- Measure the flour correctly (see note) and add to the mixer 1 cup at a time, beating until combined after each addition.
- Don't chill the dough!!! Divide it into two balls and roll out to exactly ¼" thick on a clean piece of parchment paper using just enough flour on your rolling pin to prevent sticking. (I suggest a rolling pin with measuring disks.) Because you are not using much flour to roll the dough out you can continue to roll it out as many times as needed until all the extra is used up.
- Line cookie sheets with clean parchment paper space out cookies on sheets with enough room to rise. Bake at 350F for 6-8 minutes. The cookies will not be browning at all. They will be dead white but look set.
- As each pan of cookies is done I recommend gently lifting the parchment paper holding the cookies out of the pan and setting it on a cooling rack or allowing cookies to cool on baking sheets. Do not disturb the cookies until cool and set.
Saving Dough For Later: Yes, you can refrigerate the dough and roll it out later. You will need to knead the dough a bit until it becomes softer or allow it to come up in temperature by leaving it on the counter for about 20 minutes.
Rolling Out Dough: I have tried multiple ways of doing this. My favorite is to lay a piece of parchment paper on the counter and roll the cookies out on that. You do not need to flour the paper but will need to lightly flour your rolling pin / the top of the cookie dough. You can use the same piece of paper for the entire batch of dough. When you are done just discard the paper!
Freezing Cookies: These generally freeze well for short periods. If you want to freeze them seal them up as soon as they have cooled.
- 2 cups salted butter, softened
- 2 pounds of powdered sugar
- ½ cup cream
- 1 Tbsp. real vanilla extract
- ¼ tsp. salt
- In the bowl of a stand mixer with the whip attached beat butter until creamy. Add powdered sugar and beat on slow speed until incorporated. This is a good time to use a shield or throw a towel over the mixer.
- Add the cream, vanilla and salt. Beat on low speed until combined and then beat on medium-high speed for two - three minutes. The frosting will be fluffy and light. Taste for salt and vanilla if desired.
- Use at room temperature to frost cookies by spreading or piping.
- Leftovers can be saved in the fridge for a month of frozen for long term storage. This stuff is always great to have around!
 Recipe adapted from here.
The post Perfect No Chill Sugar Cookies appeared first on Mirlandra's Kitchen.