Don’t let canning intimidate you! It is not hard to safely preserve your favorite foods. This beginners guide will get you set up quickly with the basic equipment and instructions. Pressure canning requires special equipment but water bath canning does not so it is much easier for beginners to get started!

Is this your first time canning? Or maybe you have not canned in years and it is time for a refresher course! Welcome – this article is for you. Each section covers something important you need to know to make great home canned food safely and easily.
Water Bath Canning is a wonderful skill that allows you to preserve high quality food from your garden or local farms in the way that YOU like to eat it. I love that I know as much about where the food came from as I want to and I know exactly what is in the jars because I put it there. Throughout the winter I find it very satisfying to dish up food I made myself and I absolutely love the high quality available in home canning that is not always available at the store.
How to Water Bath Can In 10 Easy Steps
Step #1: Wash canning jars, lids and bands in dishwasher or by hand.
Step #2: Fill your canner half full with water. Put the rack down inside the pot. Make sure to cover the pot when you begin to bring the water to a boil. This keeps the process quick. I also keep a kettle handy in case I need to add more hot water to cover my jars.
Step #3: Prepare your food and fill your jars according to the recipe directions. (Jars should not be any colder than room temperature.) Leave 1/2″ of head space if the recipe gives no instruction for how much space to leave at the top of the jar.
Step #4: For canning thick foods like applesauce that can trap air bubbles run a plastic spatula around the inside of the jar to release any air bubbles.
Step #5: Use a clean, damp cloth or paper towel to wipe the rim of the jar clean. Make sure it is totally clean for a good seal.
Step #6: Put lids on the jars and tighten the bands just until you feel some resistance – this means finger tight. Do not overtighten.
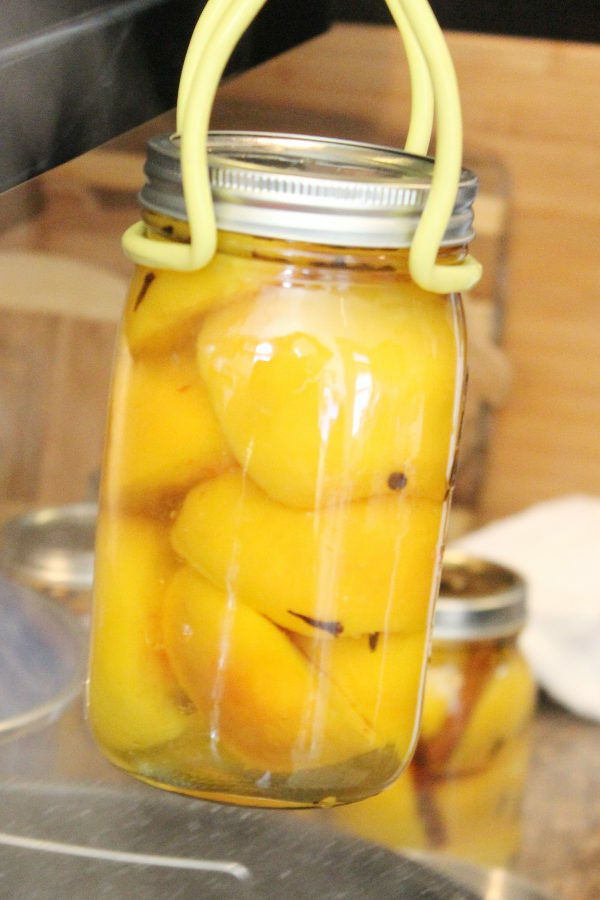
Step #7: Use a jar lifter to set the prepared jars down into the boiling water in your canner one at a time. When you have loaded all the jars they need to be covered by at least 1″ of boiling water. Use a kettle of hot water to add additional water if needed.
Step #8: Keep the water at a rolling boil for the processing time required in the recipe.
Step #9: Use the jar lifter to place jars on a wooden cutting board or a few layers of towel to cool. Leave them to cool for 12 hours.
Step #10: Check the seals on each jar by pressing down on the center of the lid. If the jar pops it did not seal. Any jars that didn’t seal can be refrigerated for up to three weeks. Jars that are correctly sealed should be washed and stored in a cool dark place until use. Jars can be stored with the bands on or off. It is helpful to use a sharpie to label the lid with the date and contents.
Note: As of 2014 there was a major change to canning. The old rules required all jars to be boiled to make them sterile and that lids had to be boiled to soften the adhesive ring before canning. NEITHER of these steps is suggested now. Clean everything well and you are ready to go!
The Equipment you Need for Water Bath Canning
You can get the equipment you need all over the place now. My local grocery store often has canning jars and lids. Farm supply stores and Walmart usually have plenty of canning equipment or you can order what you need online.
Required Equipment for Water Bath Canning
- Canning jars with lids – whatever mason or ball jars you like with lids and rings
- Canner with Jar Rack.
They come in several sizes. I have a 21 1/2 Quart pot. It is pretty standard, fits on my stove and can hold 7 quart jars or 19 pints. Mine is a Granite-Ware brand. You can use any pot big enough to hold a canning rack.
- Canning Funnel: I suggest getting one like this that shows how much head space you have in the jar. But they also make stainless steal canning funnels which are wonderful too.
- Jar Lifter – you need some way to get jars up out of the boiling water.
- If you are doing a lot of jam, an immersion blender is perfect. I love my Cuisinart
. I have had it for several years and it has held up great. I think buying one with the extra attachments is worth it! Costco sometimes carries this too.
Suggested Equipment for Water Bath Canning
- Big soup pots or stock pots. These are handy for cooking up jams, blanching peaches, or making sugar syrup for canning fruit.
- Large slotted spoon – good for lifting out peaches of scalding water.
- Old towels: Jars need to sit on towels to cool. Often they are sticky and can get your towels really dirty. Use older towels or towels you can bleach after.
My Best Water Bath Canning Tips and Tricks
If you just landed yourself a 50 pound box of peaches or have some other epic long canning day planned these tips will help it be a great day! Smaller canning projects that just take a few hours need less prep.
- Crank up the AC and put a giant fan in the kitchen to counteract the heat.
- Drink lots of water. Staying well hydrated helps me keep my energy up. It’s so simple but so important!
- Clean the kitchen and prepare everything the day before. I try to have everything set out, jars washed and a clean work space to use the night before. I use the dish washer to wash all of my jars.
- Have a few extra jars clean and ready. Also go through a checklist and make sure you have all the sugar, vinegar or other supplies you need!
- Plan dinner ahead of time. I put something in a crockpot, have leftovers ready to go or just plan to order a pizza.
- Do your canning with friends! Historically women have gathered together to help each other with canning. If you have a lot of food to put up this is still fun! We get pizza for lunch and let the kids play while we put up the food. The day usually ends with a big bottle of wine, sore feet and a lot of laughter.
Understanding How Altitude Impacts Water Bath Canning
We know cooking is science, right? But we don’t always think of it that way. If you live higher up, water boils at a lower temperature! The temperature of the water is part of how you make sure that food is canned safely in the water bath canning method. Thankfully it is easy to adjust each recipe for exactly where you life!
Every canning recipe will tell you to process jars a minimum number of minutes + additional minutes if you live above 1,000 feet.
Here is how to figure this out for where YOU live!
- Google the altitude of your town. For example, I live in Boise, ID and the altitude is 2,730 feet according to Google.
- Follow the recipe instructions to add additional processing time (boiling time) to your recipe. If your recipe does not include this information you can contact your extension office or you can use this general table to increase your processing times!
- At 1,001 to 3,000 feet above sea level, increase processing time by 5 minutes.
- At 3,001 to 6,000 feet above sea level, increase processing time by 10 minutes.
- At 6,001 to 8,000 feet above sea level, increase processing time by 15 minutes.
- At 8,001 to 10,000 feet above sea level, increase processing time by 20 minutes.
For example since I live just under 3,000 feet I add 5 minutes to the processing time of everything I make in a water bath canner. If you are confused at all please leave a comment and I will help you figure this out!
Where to Get Reliable Safety Information for Water Bath Canning
Water bath canning is easy to do safely! But sometimes you will have questions. You can use the internet to look things up but be sure you are using a good source with reliable information!
I keep a copy of the Ball Blue Book
Many communities have an extension service that can answer canning questions from a local perspective. If you are looking online for information you can trust information put out by extension services or universities.
Great Water Bath Canning Recipes To Start With
There are lots of great things you can try preserving with your new water bath canning skills. These are some of my favorites!
- How to Can Summer Peaches In A Water Bath Canner
- How to Can Spiced or Pickled Peaches in a Water Bath Canner
- How to Can Peach Jam in a Water Bath Canner
Not sure where to start? Peaches are easy and popular. You won’t regret having quite a few jars of this summer treasure in your pantry come winter!
This post was originally shared in August of 2014 but was updated in June 2020 to reflect the latest water bath canning recommendations and information.
The post Water Bath Canning For Beginners appeared first on Mirlandra's Kitchen.
 They come in several sizes. I have a 21 1/2 Quart pot. It is pretty standard, fits on my stove and can hold 7 quart jars or 19 pints. Mine is a Granite-Ware brand. You can use any pot big enough to hold a
  . I have had it for several years and it has held up great. I think buying one with the extra attachments is worth it! Costco sometimes carries this too.
